How To Make a Fabric Covered Cork Board
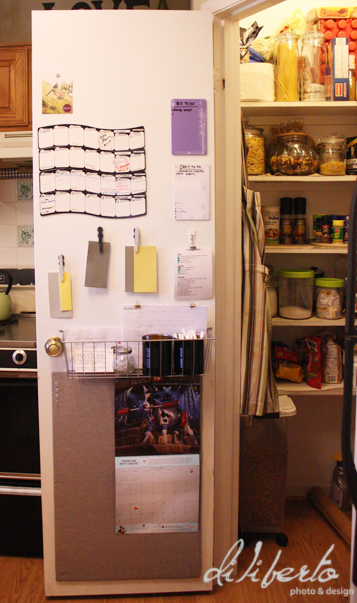
AND cue the big reveal! This is our command center and over the next few days I’ll be going over all the pieces that make it what it is beginning with a DIY how to make a fabric covered cork board tutorial.
I knew I wanted a cork board in our home command center but I didn’t want it to be the traditional brown cork. I wanted it to match my color plans (black, white, grery, and green) and it needed to be a custom size to fit the door. I worked out plans for a custom cork board in my head and in my art journal for a while. After a few tries it came out perfect, which is why I wanted to share this tutorial for how to make your own fabric covered cork board (for under $10).
Supplies
-Roll of cork (can be found at your craft store for about $5)
-Hot Glue Gun and Sticks (I already had these at the house)
-Stapler + Staples (Another item I already had in the house)
-Sheet of Foam Board (also called foam core costs about $2)
-Fabric (go crazy, find something fun or something simple to go with the tones in the room, I got a yard of fabric at walmart for $1.98)
-An extra set of hands
1. Start by trimming your cork to fit the size of your foam board. Our fabric covered cork board was going to go inside the door of our pantry so we made sure to trim the foam board to fit almost the whole width of the door, leaving room for the door to close. An extra set of hands comes in handy here.
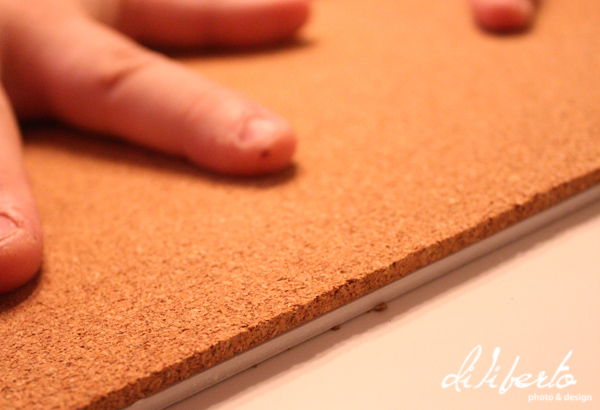
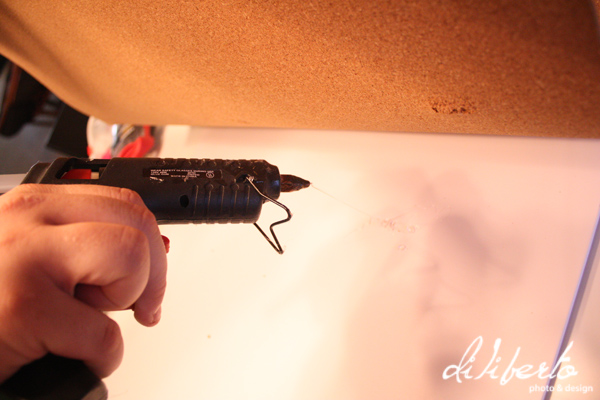
2. Hot glue the cork to the foam board. The foam board gives the cork a little stiffness to help when you cover it in fabric. It also adds a little thickness too so your tacks don’t go into the wall (or in our case the door) behind your fancy board once you hang it. Once you’ve got all the glue down, press the cork down all over. Let it dry before you move to the next step.
3. Lay your material right side down and then the cork/foam board combo cork side down. You want the back of your fabric and the cork to touch. Trim your fabric so there is about 1 inch to 2 inches of extra fabric around the board.
4. Squeeze a length of hot glue down the edge of the foam board. Work in opposite sections, do the top center then the bottom center, then left center then right center. Fold the fabric over the back of the foam board and staple it to the foam board. Be careful because some of the glue may leak through the fabric and it can be hot. When you get to the corners, just fold them over and glue/staple them. It doesn’t have to look pretty because it will be against the wall and no one will ever know.
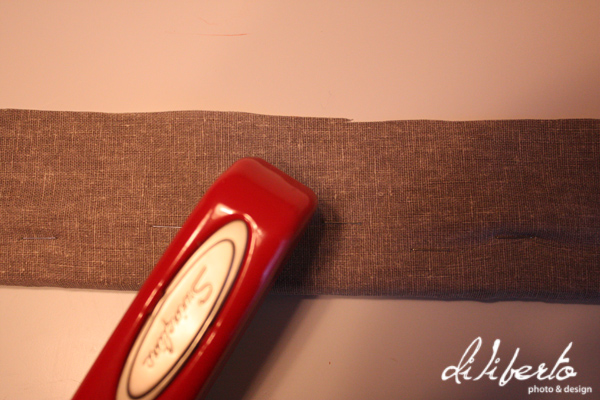
(have you seen my stapler?)
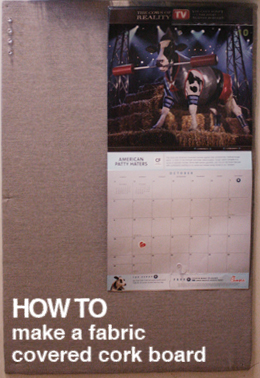 5. TA-DA! Done. We used small finishing nails to attach our cork board to the door because we knew it would be moving a lot. If it’s just going on the wall command strips would work well too.
And that’s a DIY fabric covered cork board.
Update: Here are the rest of the posts for Pantry Organization Part 1

[…] homeaboutphotographyFor the Love of CouplesTo Be WedSeniorsFamilies & KidsBumps & BabesCorporate & Real EstatedesignEvent & Party DesignsPhotography DesignsPromotional & AdvertisingLogos & Brandingmenusphotography sessionsproducts & printsbooks and albumscards & announcementscorporate designevent & party designblogcontactclientsannika-seniorbethia & joelezraKyra and Kevinnatashaoak ridge homecomingtaylor familythe nutcrackerrebecca-senior 2012josh hundl-senior 2012shopping cart « For the Love of Couples ~ Kyra and Kevin How To Make a Fabric Covered Cork Board » […]
[…] took off the door handle and taped off the area I wanted magnetic. I knew I’d be putting a fabric covered cork board on the bottom half so I didn’t see a reason to make that part magnetic. I also made sure to […]