How To :: Make Fabric Rosettes
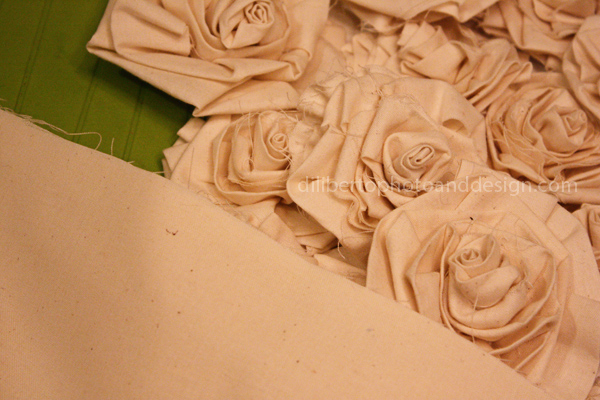
I kept seeing these really great fabric rosette pieces on Pinterest, adorable necklaces, shirts, and even a fab tree skirt. I decided to go ahead and try to make said tree skirt (without a tutorial). 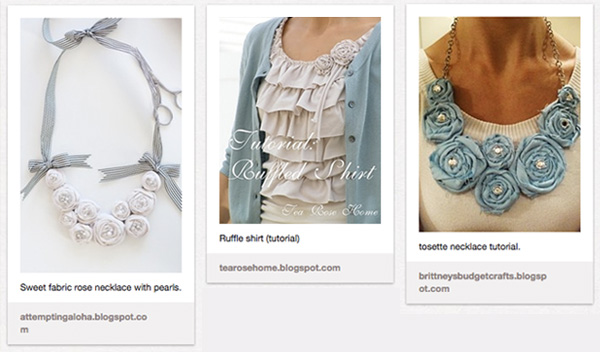 I could figure out most of it but the fabric roses (or rosettes) stumped me a bit. I searched for tutorials but couldn’t find any that would create rosettes like I wanted, so I just figured it out. When I posted a picture on my instagram I got several inquiries about how I did them, so here’s a tutorial for you!
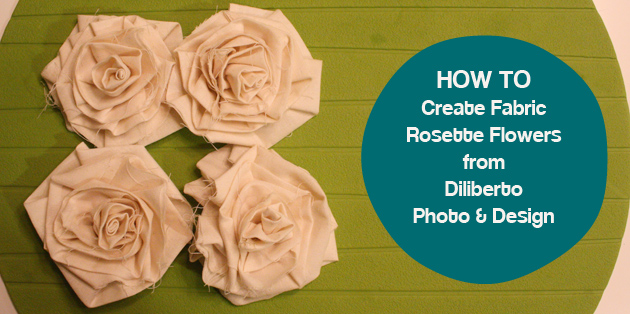
You will need: Some fabric (remnant fabric works, something light weight and cotton works best but I’m sure you could use a knit or heavier cotton, heck, experiment), a needle, thread, a ruler, and scissors.
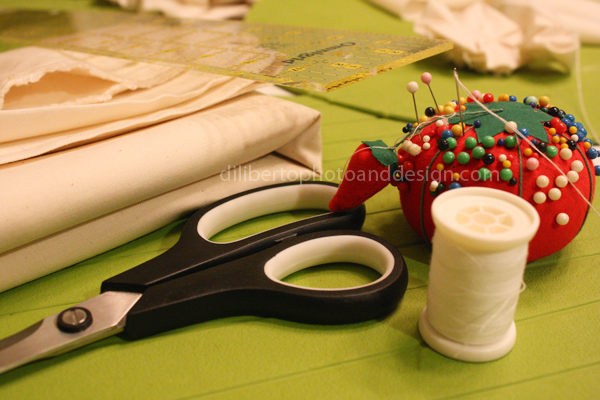
Start by cutting your fabric in a long 2″ wide strip. The length of my strip was the original width of the fabric (I left it folded, as it was on the bolt and then just cut through two inches). Your strips of fabric do not have to be exactly two inches wide, I eyeballed it on all of mine.
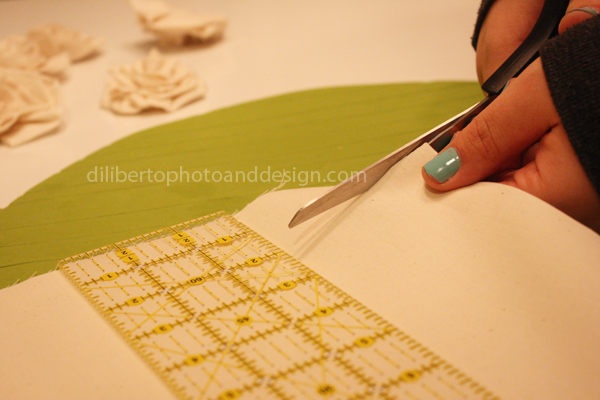
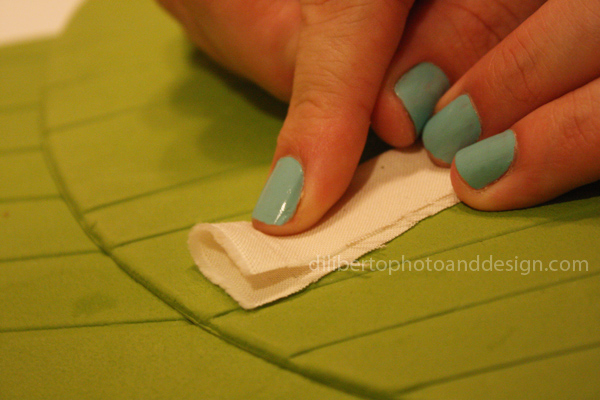
Next fold your strip in half so it is now one inch wide. Run your fingernail down the fold to make sure it stays folded (if you’re super hard core you can iron it, but it’s not necessary).
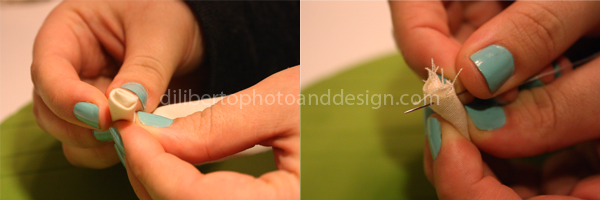
Start your fabric rose by rolling the fabric in on itself to create a roll (think jelly roll or taquito). Once you roll it a bit, flip it over to the raw edge and sew a few stitches to tack your fabric together. It doesn’t have to be pretty, no one will see it.
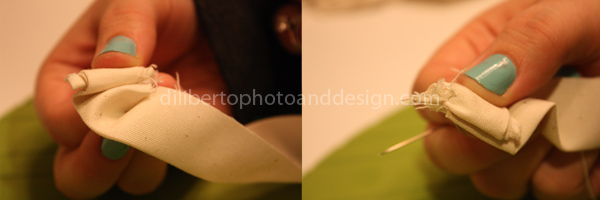
Continue to wrap the fabric in on itself. Put in little folds toward the raw edge to add a bit more volume to your fabric rosette. Every few turns flip over your rosette and tack it down by sewing a few stitches.
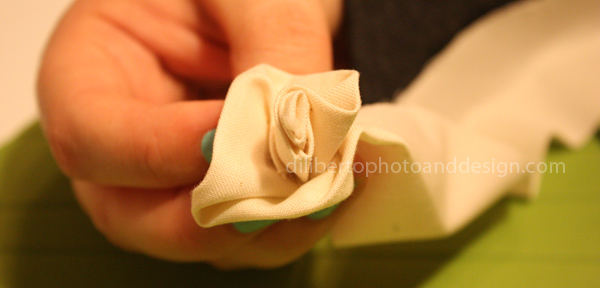
Your fabric rose should start to take form.
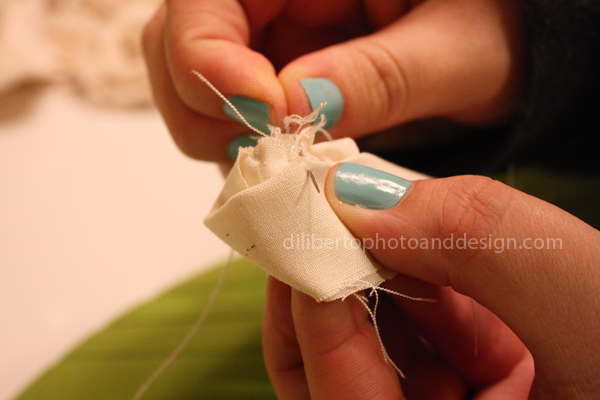
For my fabric roses, mid turn, I flip over the fabric to allow the raw edge to be at the top of the rose. When you fold the fabric over, mold it to make a cool petal looking loop. You don’t have to do this, I just wanted them to be a little more messy and raw. Let the raw edge stay at the top of the flower for a few turns and then tack it down again. Flip it back over and keep rolling and tacking with stitches. To make a tight rose, keep the edges tight together, if you want a wider flower work the edges outward.
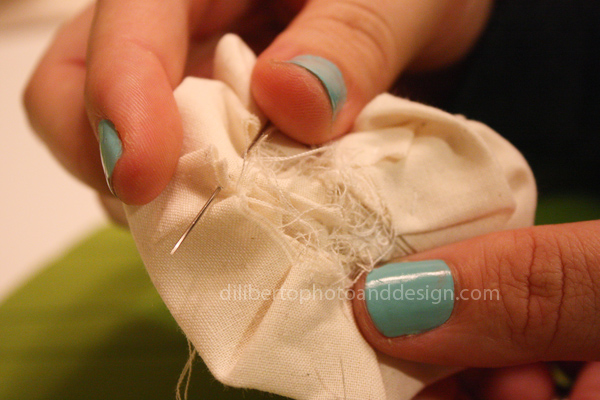
To finish off the flower tack down the edge. The back will look messy. Don’t worry, it’s fine. Now flip it back over and admire your handwork.
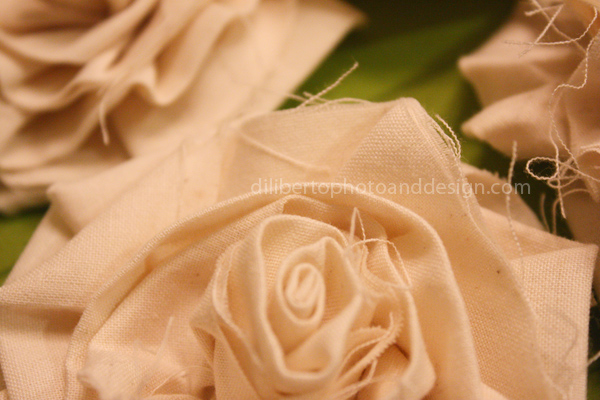
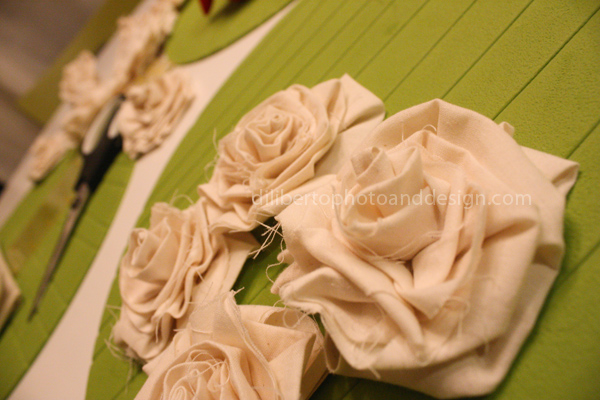
What I love about these flowers is you can make them with any kind of fabric, color, pattern, etc. You can also make them larger and smaller by cutting thinner and shorter strips. For tighter flowers (like the ones in the necklaces above) cut thinner strips or fold them twice, sew the fabric tighter together, and flip it/twist it a lot. You can also sew little pearls or gems into the center. Since it’s impossible for me to just sit and do nothing, I made most of my flowers while sitting on the couch and watching a movie. I’ve got about 35 to go.
Also, many thanks to my dear husband Bill for shooting some of these pictures. You have a photographic eye that never ceases to amaze me. There’s no way I could have shot this tutorial without you.

Did you enjoy this tutorial? How will you use your own fabric rosettes?
